How To Make A Quiver: Arsenal Style


Backstory aside, this post is about building part of Roy's costume (although quivers are a part of many costumes, so let's call this a multidisciplinary craft). In particular, this quiver is modeled off of one of Roy's Arsenal costume variations where he uses a flattened, backpack style quiver, rather than the more traditional cross-body cylinder look.
 |
| This is Roy, in all his ridiculously monochromatic glory |
Materials
Plastic form (I used a plastic cereal dispenser, found at a thrift store for $2)
3 long wooden dowels (These came from Home Depot. They come in all different widths, but the ones I used were 1/2 inch wide, 48 inches long, and cost less than $2 dollars each)
1 Foam sheet (You want a thin sheet of craft foam, easily found in your local craft store in 8" by 12" or similar dimensions)
2 strap adjusters
Spray paint
Utility knife
Needle and thread
Steps
Make the body of the quiver:
For this step, you need to find a quiver shape of some kind. As mentioned, the most commonly seen quiver shape in media is a cylinder. However, Arsenal generally uses a quiver with a wider, oval- or rectangular- shaped top. In order to find an acceptable shape, I trawled the local thrift stores, and found the usual treasure trove. Eventually I settled on a large tupperware container (the one generally used for dry storage, often cereal)

Step 1) Paint the quiver
This is pretty straightforward. I used a dual duty paint/primer outdoor spray paint (in the brightest red I could find) and gave the whole outside of the cereal bin a couple coats. I didn't end up putting a top coat on it, but I probably should have to keep the paint from scratching off so easily.
Step 2) Attach the harness
For this, just take out your handy dremel (or another small saw of some kind) and cut four holes in the back of the quiver in a square pattern so that you can attach the straps. I went for a standard backpack style with two straps, one over each shoulder. The straps themselves were simple. I bought a two-yard strap of red nylon webbing, cut it in half to form two straps, and then closed the ends with a strap adjuster on each of the two straps
 |
| It's not exactly pretty, but it doesn't have to be! I love it when that happens |
I wasn't sure how many arrows I was ultimately need, but I decided that making full-length arrows was just going to be unnecessary for my particular purposes. Instead, I made arrow-tops, only about 5 inches long each.
3) Paint and cut the arrow rods
For the arrow shafts, I took three 4-foot-long wooden rods painted them with the same red spray paint I used on the quiver. Then I cut each into into about ten sections (so that each section was just under 5 inches long and I ended up with 30 mini arrow shafts)
Optional: I went slightly crazy at this point and used the dremel saw to cut notches in the end of each arrow shaft to simulate nocks.
4) Make feathers
For the feathers on the arrows, I decided using actual feathers would be more expensive and annoying than I wanted, so I turned instead to craft foam. I wanted to make three triangular feathers for each of mini-arrows, so I cut...just so many little triangles
 |
| This is but the first of many |
5) Fletch
After making the feathers, I went ahead and glued three feathers to each shaft.

Attach the arrows into the quiver:
This is the easy part, it's pretty much just plug and play.
6) Cut foam to fit quiver.
At this point, I got out my sheet of styrofoam and cut it into an oval that fit into my tupperware quiver. The benefit of the quiver I found was that it actually had a slight lip about 2 inches below the rim. This made it easy for me to cut the styrofoam round and fit it under the rim of the quiver, but not push it to far down, giving the whole structure some stability.
7) Paint the styrofoam
After cutting the styrofoam to fit, I decided to paint the top of the foam piece so you wouldn't see the bright white sheet inside the red quiver. You can do this or not, but be aware that spray paint will melt the top layer of the styrofoam, giving it a rough appearance.
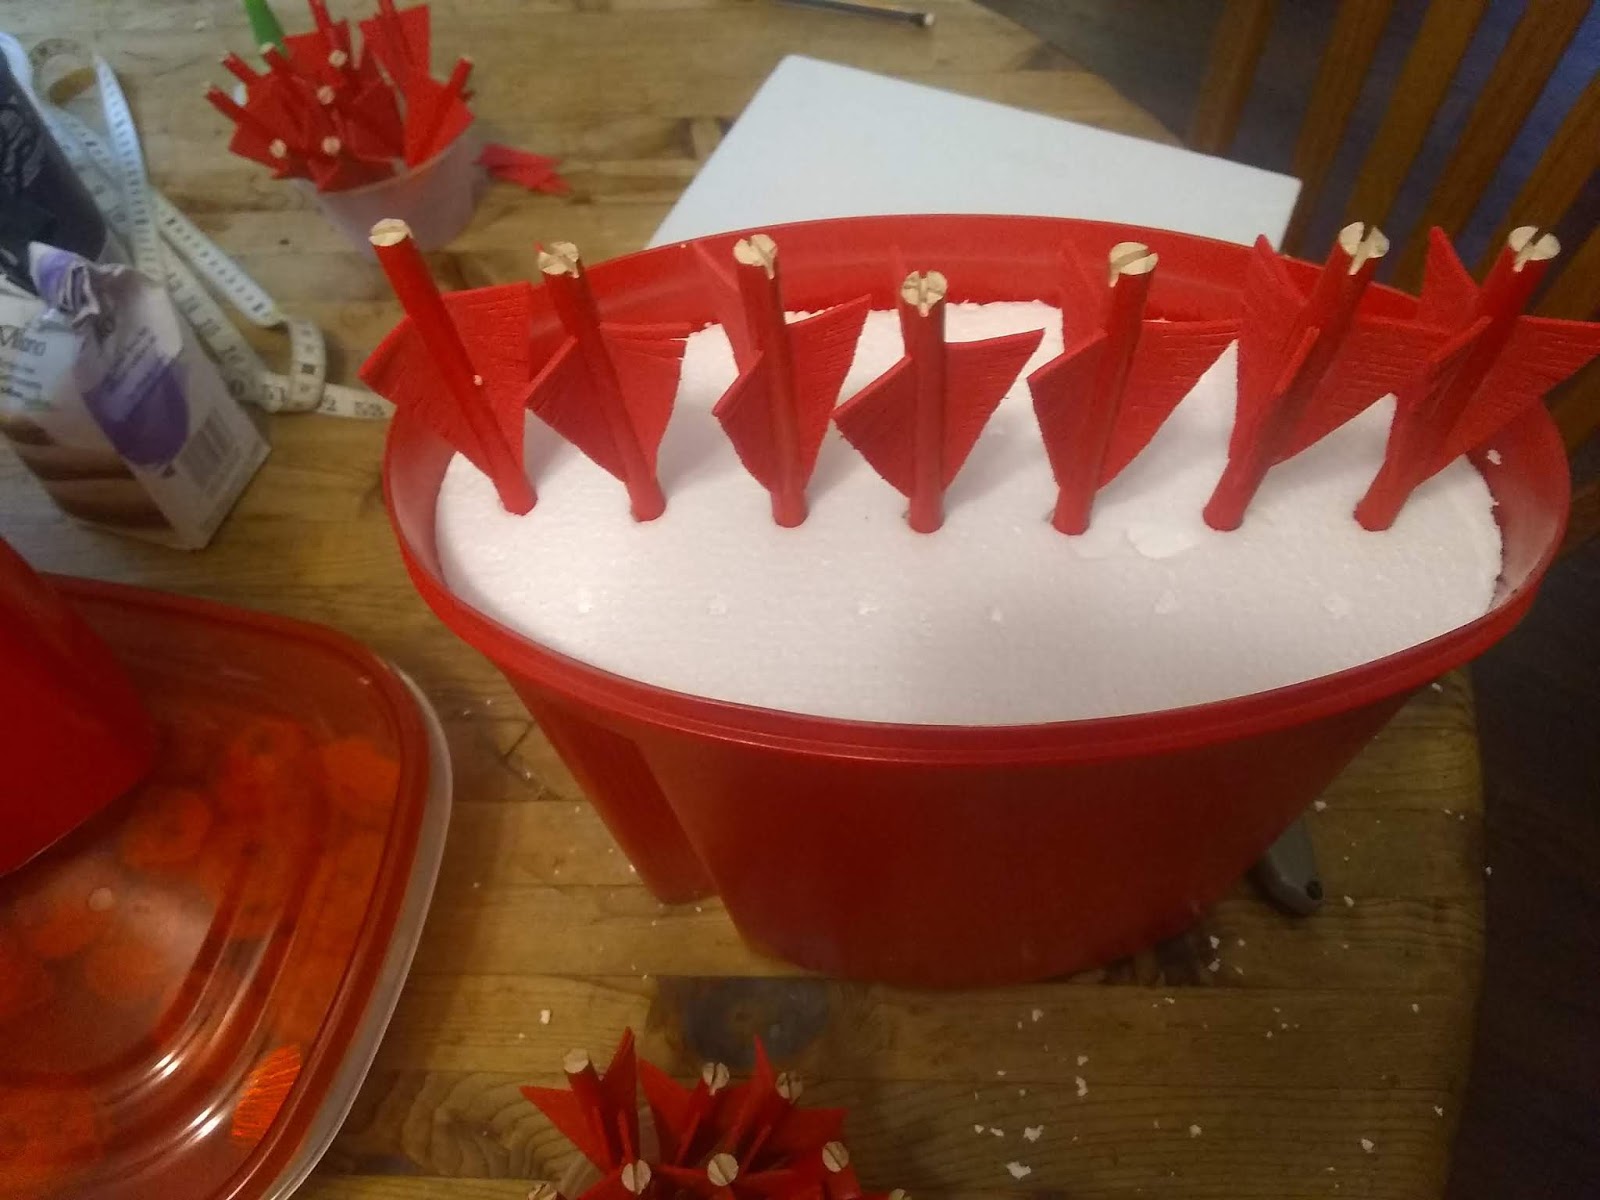
8) Plug the arrows into the styrofoam
Easy as pie, I just took my little arrow-lets and stabbed them through the styrofoam in a couple of staggered rows. Then just settle the styrofoam into the quiver, and you're ready to go!
Optional
Lay a strap under the styrofoam, so that each end sticks the side of the quiver. This means that you can more easily remove the styrofoam piece without upsetting the arrows, which means that you have easy access to the space under the arrows. Considering how short the arrows actually are, this means you essentially have a backpack for everything else you need at your chosen activity!


Comments
Post a Comment