How to make a Stargate Atlantis control crystal
If the technology of the Ancients is giving you trouble, check the crystals. And if you're looking to make a simple set of props for a scientist or technician in Stargate Atlantis, this is one way to get some sharp Atlantean technology without too many tools or materials. The one that I made is my attempt at the control crystals found in the series' workhorse transports known as "puddlejumpers" or "jumpers."

If I haven't mentioned it before, if you're looking for close-ups on obscure movie and TV props, a good place to start is yourprops.com. Essentially it's an online wikipedia of props, in which the collectors have generously uploaded pictures and context for props and costumes. This extremely handy because there are often notes on what the item is made of, shots from multiple angles, and really just a good way to get a better look at props that are hard to get screenshots of. These first two shots are from user FoxDraxter, originally they had the photo credits there but I had to crop it down to fit better.
References


-Polycarbonate sheet
-Metallic gold adhesive vinyl sheet (Cricut)
Tools
-Dremel with cutting wheel and polishing attachments
-Hobby knife
1. Gather the materials
This is a pretty simple parts list. This was my first time working with polycarbonate sheeting but it's easy to cut and this section of 8x10inch was about $5. You can find it in the hardware store with the window repair supplies. For the circuitry details I was going to use a metallic gold paint pen, but eventually decided that the Cricut-type vinyl sheet was going to be more precise. Also would probably help to have a Cricut machine to get even more precise, but with some patience and a sharp hobby knife you can still get interesting results.

2. Make the patterns
The control crystals appear in different shapes and sizes, but for the puddlejumper crystals the dimensions seem to be about the size of a person's hand. I started it off as a 2 by 5inch blank and tried to get as close to the shape as I could.

Later on I also traced and cut out a stencil for the circuitry. This is a little less precise, I just wanted it to be in the same style as the other puddlejumper control crystals.

3. Cut the crystal
First trace the pattern onto the polycarbonate sheet. Keep the protective stickers on, that way it cuts down on accidental scratches.

Then use the Dremel with a cutting wheel to carefully cut the polycarbonate. This will create a lot of dust and will heat plastic, so wear eye, hand, and respiratory protection.

Then you can smooth out the edges with some fine-grit sandpaper or the sanding/polishing tools on a Dremel. Once down, remove the protective stickers on the sheet.
4. Cut and apply the details
Flip the metallic sheet over and also flip the stencil to be wrong side up. That way you can easily trace on the back of the sheet, and that it will come out the right way when cut.

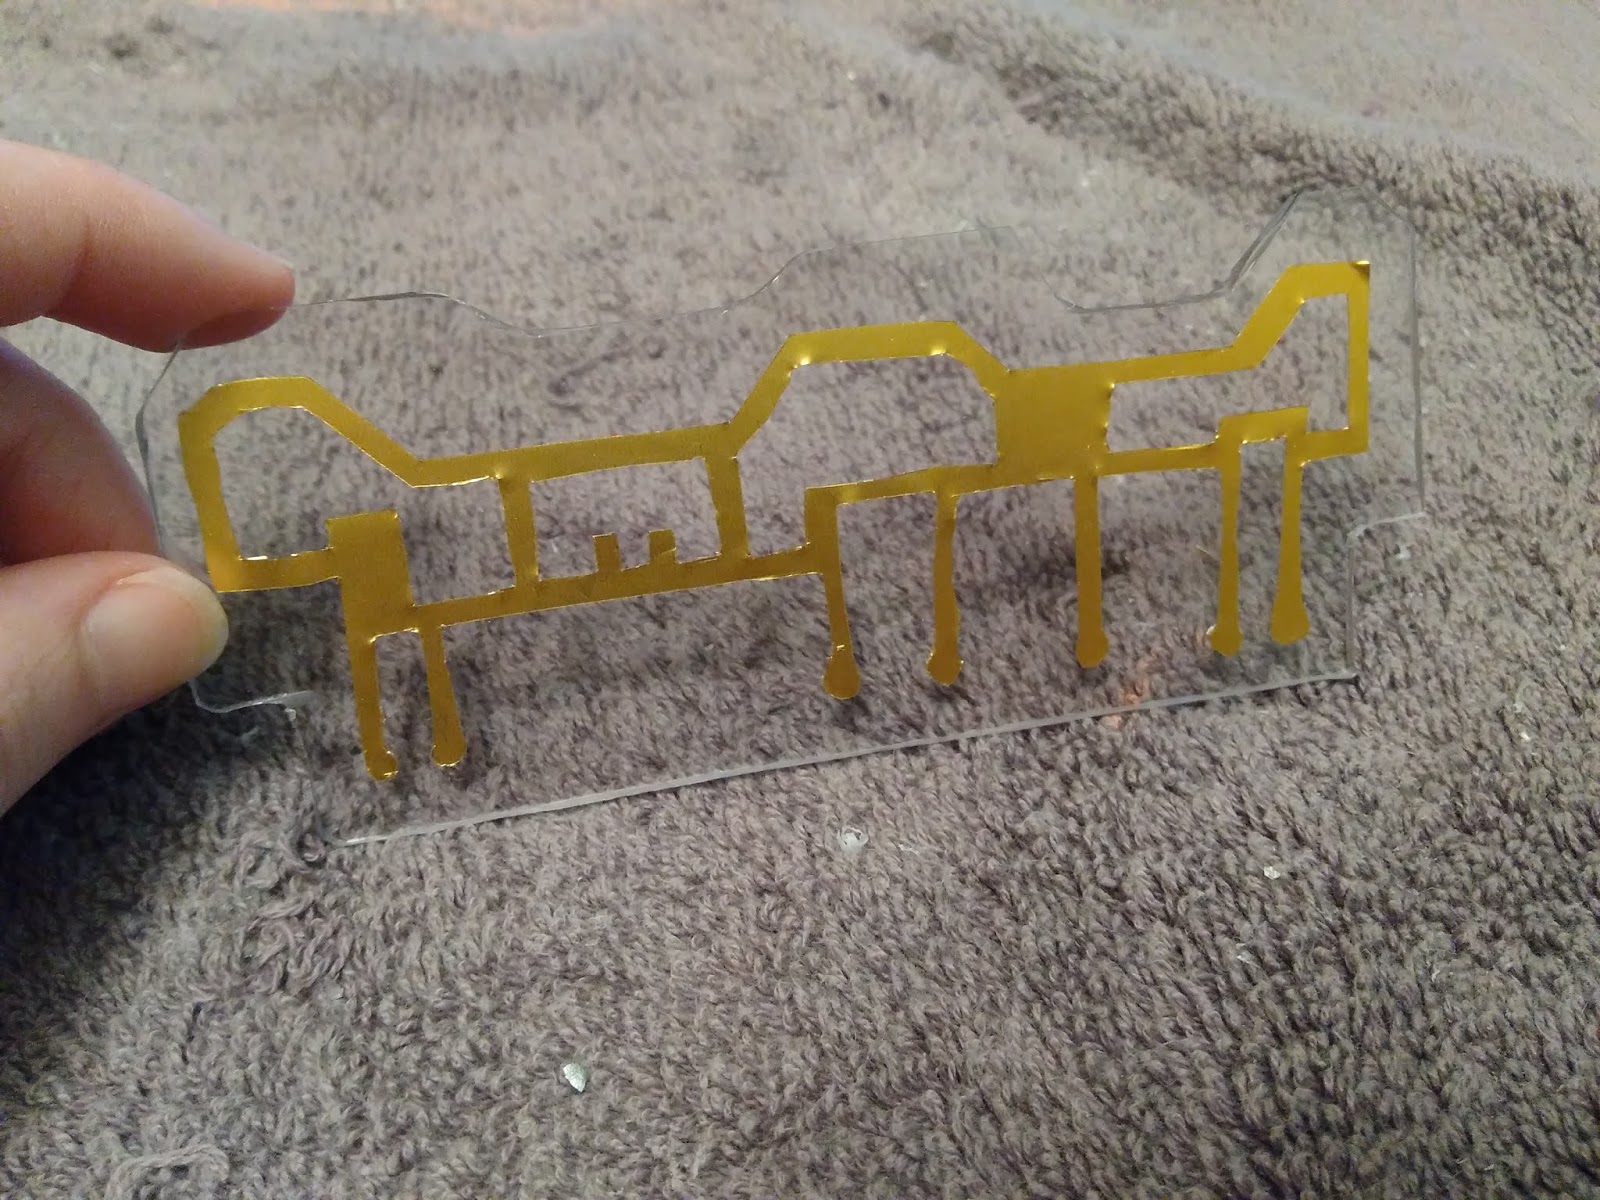
So this crude stencil means that you need to add the spaces and details within the large portions of negative space. So I add a few lines and nubs in there to break it up. The important thing is to keep the outlines of the circuitry a consistent width, to mimic the circuit board look.

And then carefully remove the backing and stick the circuitry onto the crystal. You need steady hands and precision, because unsticking it and reapplying is kind of a pain. It's hard to get the full effect of the metallic in photos, but really it is much sharper and reflective than tried the same method with metallic paint.
And there you have it, a simple puddlejumper control crystal! If I had metallic blue vinyl I'd add a similar design on the back to get it closer to the original, but you can use these techniques to make other varieties of control crystals in Atlantean technology. Good luck and keep crafting!


Hey great post, Thanks for this helpful information, I will come back again for more interesting information. Keep it up! Check Now- Best Online Crystal Shop
ReplyDelete